How to create an app (go from idea to App Store)
January 15, 2023
Want to create an app?
Your timing is perfect. The mobile app market is getting hotter by the minute. Last year, we collectively spent over 38 trillion hours engaging with mobile apps.
But where there’s undeniable potential for success, history knows plenty of failed mobile products — abandoned, forgotten, unprofitable.
So how do you change the success odds in your favor? By entering the app development process well-prepared.
This guide breaks down the complex app development process into easy-to-follow steps.
How to Create an App for Business: Step-by-Step
Behind every successful app stands a detailed product roadmap.
A product roadmap is an evolving document outlining a product's vision, direction, goals, and progress over time.
A roadmap is a visual representation of the mobile app development process. All team members can refer to it as a single source of truth.
Use your mobile app roadmap to:
Document market and user research
List main product goals
Set key milestones
Visualize mobile app development stages
Outline post-launch steps
This guide breaks down the app building process into ten stages and suggests two extra post-launch activities.
After reading it, you’ll be ready to create a product roadmap for your mobile app.
1. Refine Your App Idea
The app creation process starts with an active ideation stage. Your goal: pin down the main value proposition.
A unique value proposition is an edge that makes people choose your mobile app over others.
For companies, adapting a web product to a mobile app is easier.
You already know why people prefer your brand over others. Your main goal is to port this experience to a new medium — mobile.
For companies, building a new mobile-first product value proposition generation requires extra research steps.
You need to figure out your best app users and what they would want from your product.
As Eric Ries wrote in Lean Startup:
“We must learn what customers really want, not what they say they want or what we think they should want.”
The best course of action here is to create ideal user personas — semi-fictional representations of users you seek to attract.
To create a customer persona for your mobile app, collect the following information:
General demographics data
Experiences with similar products
Expressed goals for the product
Common product interaction patterns
Your best option is to use qualitative customer research methods such as direct interviews.
Use the collected data to assess the overall interest in your app idea and develop a set of product hypotheses.
Short statements about your target audience and the proposed solution you’ll want to prove or disprove.
Here’s a simple formula for structuring product hypothesis:
I BELIEVE THAT <my feature/mobile product>
WILL <direction of change><thing that will change>
FOR <target user>
BECAUSE<reason for change>
Let’s say you want to build a free app for researching food ingredients. You want to target Millennials who prioritize healthy food choices, avoid pre-processed foods, and often maintain a special diet (e.g., vegan, keto, etc.).
Your app hypothesis can be this:
I believe that an app with a computer vision algorithm for scanning food labels will help conscious consumers better understand food contents because it will automatically flag and alert users of harmful preservatives or ingredients that don’t match their diet. For gluten-intolerant consumers, it can be an easy way to avoid gluten-based foods.
Try creating several product hypotheses around the goals you want to help people reach with your mobile app.
2. Conduct Market Research
Your next step is to validate the initial target audience research and product assumptions.
At this point, you might wonder what’s more important for app development: focusing on essential features or understanding the market better?
That’s a difficult choice because app users won’t flock to a poorly made product even if it perfectly fits their needs. But then, even the most brilliant app idea will flatline if it doesn’t solve a pressing problem many people share.
Marc Andreessen of Andreessen Horowitz VC firm argues that the market is the most important factor in a startup’s success or failure:
The market needs to be fulfilled and the market will be fulfilled, by the first viable product that comes along.
Therefore, if you are building a new mobile app, you should verify first that there is a market for it. So prepare for another round of in-depth user research.
At this stage, you should combine two research approaches:
Primary research includes UX studies, focus groups, surveys, 1:1 interviews, or observational studies.
Secondary research includes using open-data sources such as social media data, market reports, public statistics, etc., for mining data.
First, show your product assumptions to several audience members and collect their feedback. Refine your assumptions based on it.
Next, cast a wider net over the market to understand how your app idea compares to others on the market.
Since you are not the only player, you must ensure that:
Your mobile app has a differentiating factor: it’s faster, sleeker, or more convenient.
But it still features familiar features and design elements people in the market are accustomed to having.
Here’s a short checklist for doing mobile app competitor research:
Who is your biggest competition in the segment? Is it direct or in-direct competition? Can you become someone's potential or replacement competition?
What are the standard features other mobile apps offer? What’s their main value proposition?
What’s their business model? How do others monetize their product?
Which user interface elements or app features need improvement? What’s missing altogether?
Check competitors’ app store listings and user reviews to get your answers.
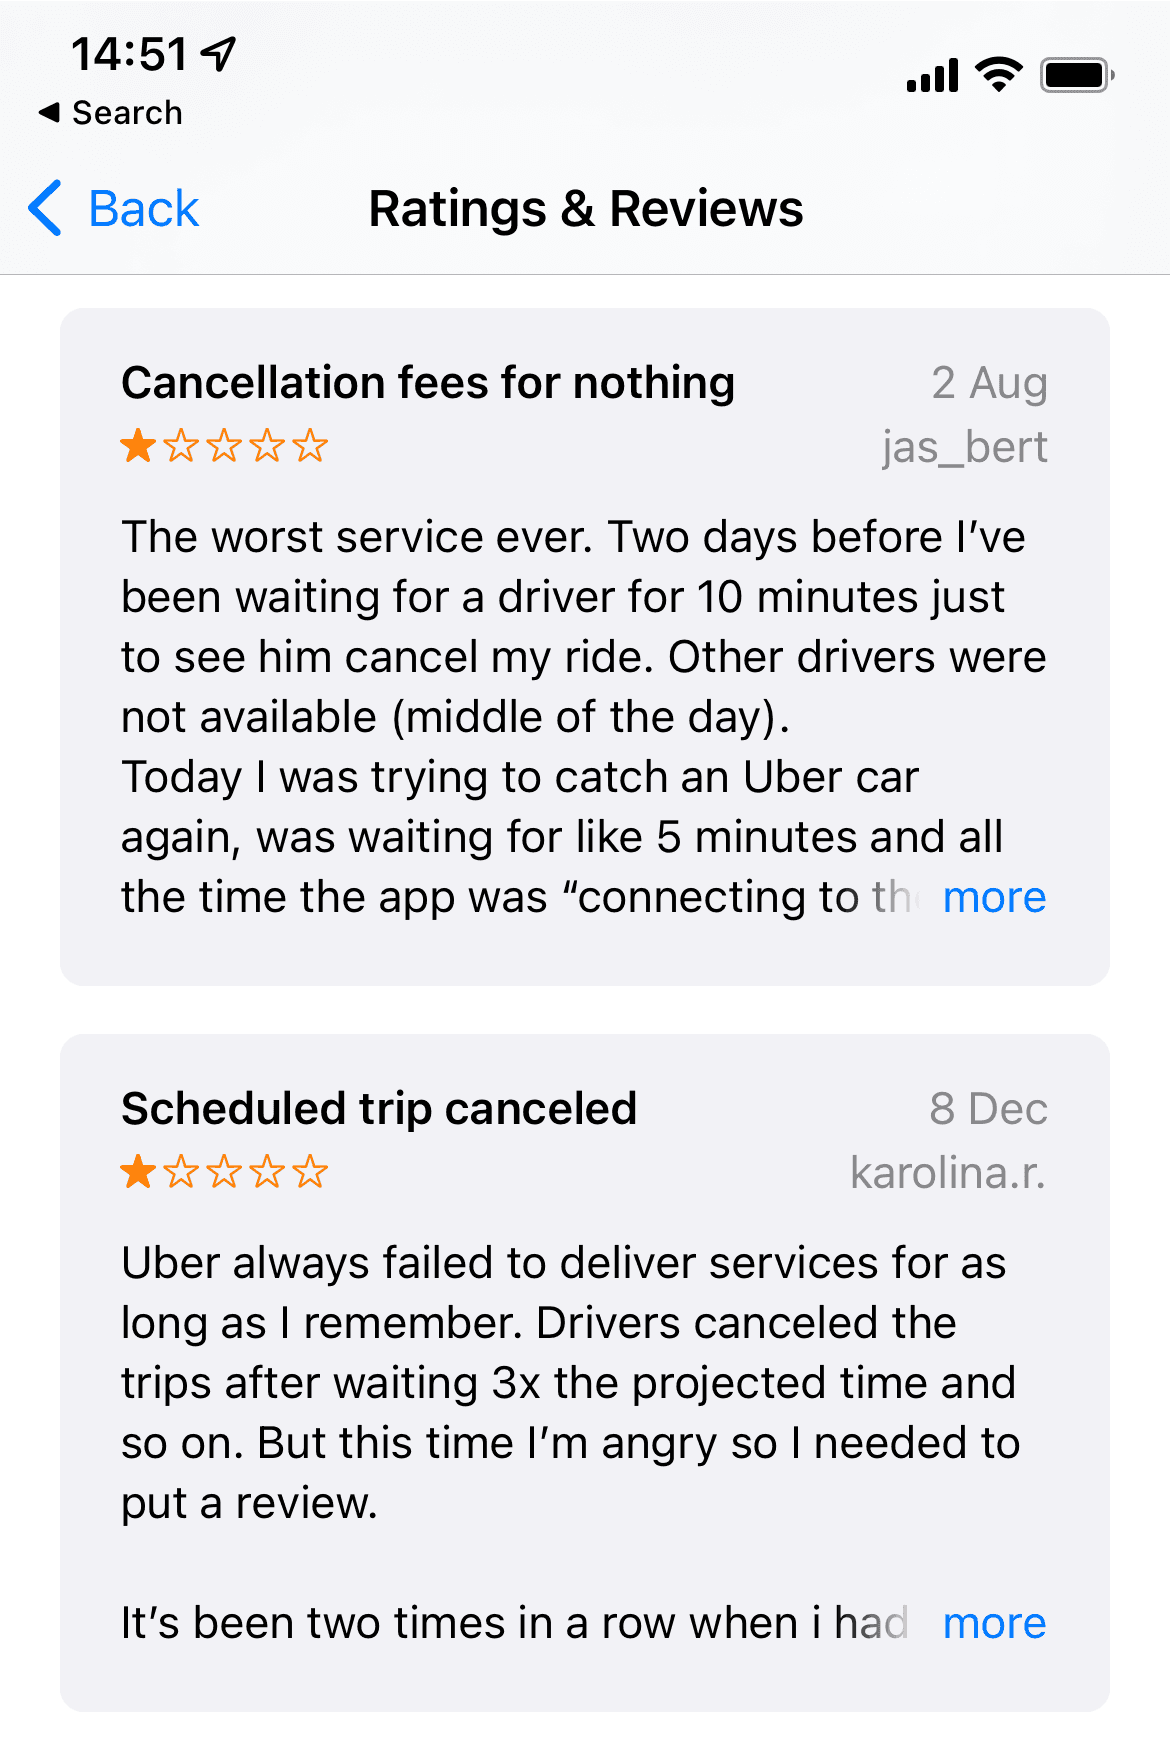
Uber ratings & reviews on the App Store. Source: App Store.
Read both the positive and negative ones.
What makes app users happy?
What leaves them deeply frustrated?
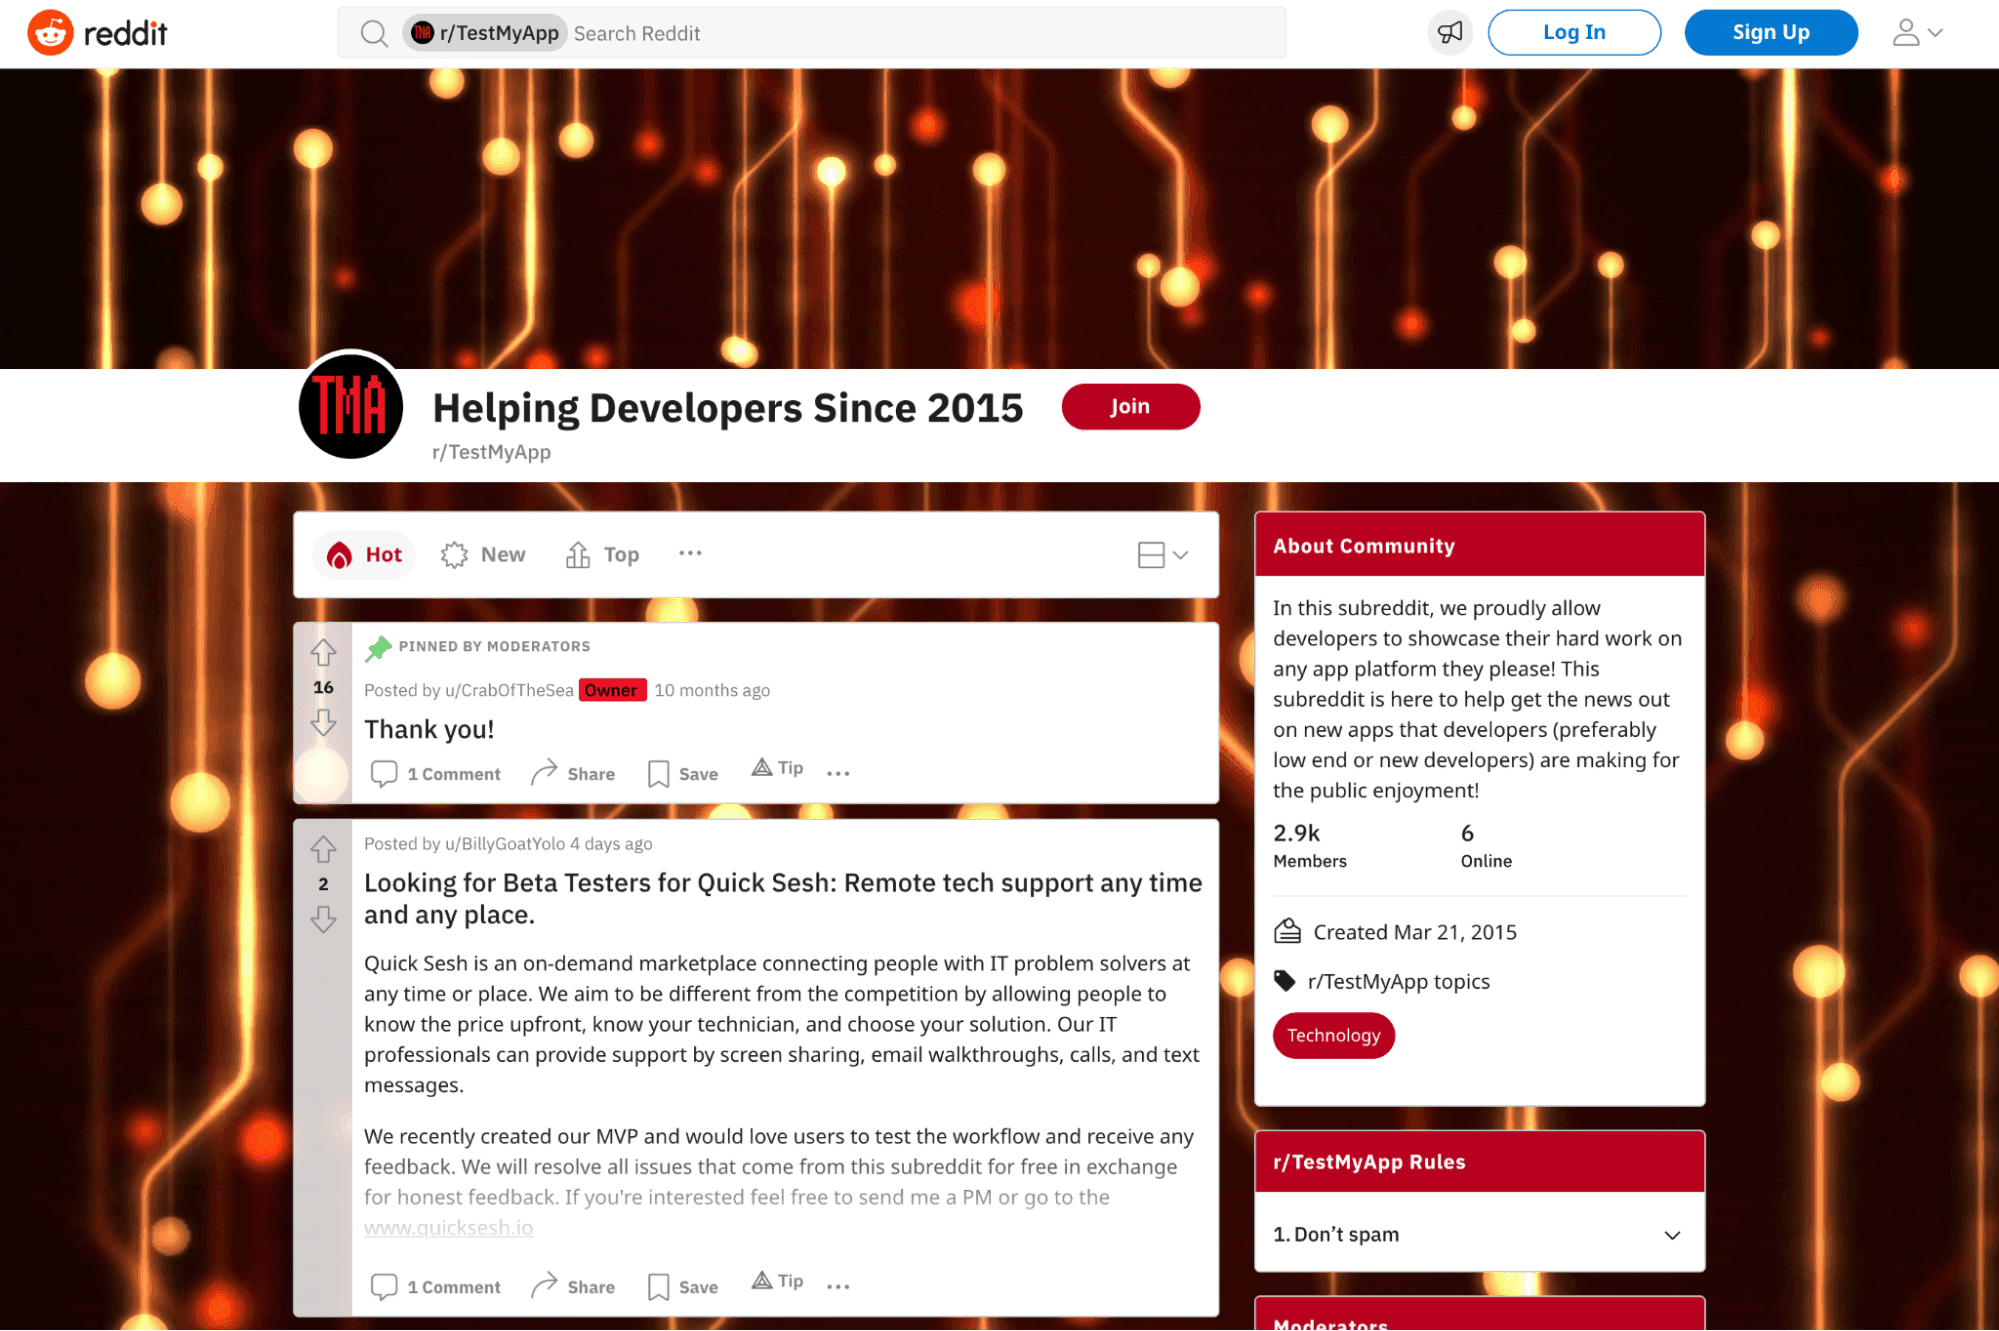
Find early app testers in the r/TestMyApp subreddit. Source: Reddit.
You can also engage people on social media or in niche communities like Reddit to get a first-hand perspective on their attitudes toward other market players.
After you’ve collected enough information about competitors, compare it to your notes from user interviews.
Are there any contradictions?
Did your targets highlight the same product strengths and weaknesses?
It’s an easy way to cross-validate data.
Finally, review your initial list of product assumptions.
Do they still hold true?
Do you need to rewrite some of your hypotheses?
The point of this extensive research is to nail down your product-user fit, aka the extent to which you’ve built the right product for the right user.
As the Andreessen Horowitz team writes:
The path from product-user fit to product-market fit is all about answering a few core questions: Who really wants this today? How many of those people are out in the wild? What else would it take in the product to turn non-users into users of our solution? What macro story must play out in the market to substantially shock market-wide demand?
Extensive research done early during your app-building journey helps you prevent costly product-user fit mistakes at the design and development stages. Don’t skim on this!
3. Create User Stories To Describe Main App Features
You now have a strong concept for your app, plus some tested ideas for product features.
It means you are ready to create an app MVP (minimal viable product). As the name implies, an MVP is a truncated version of your product with several core features.
For example, if you are building a new mobile banking app, the must-have core features are:
Online account opening
Fast user KYC
Payment card ordering
Account top-up feature
Money transfer functionality
Your goal is to prioritize only essential features for an MVP — and save the other ideas for later.
Kevin Systrom, the co-founder of Instagram, said in an interview:
“The lesson I’ve learned [when building Instagram] is that you need to make sure to always cut what doesn’t work, cut the stuff that isn’t popular.”
Systrom was referencing his experience with Burbn (Instagram MVP version).
Burbn was originally designed as a location check-in app, similar to Foursquare. But after launching an MVP, the team noticed that users loved the secondary photo-sharing feature more than the core one (check-ins at different locations).
So they promptly went to redesign their app around photo-sharing and tossed earlier unpopular features.
Starting with an MVP rather than a full-feature mobile app is better because you can:
Launch faster and validate your user-product fit with real target audiences
Save on app development costs and gain an asset to show to investors
Evaluate the performance of the selected technical stack
Identity and fix user flow gaps, bugs, and security flaws early on
Once you have an MVP list of features, you need to share the information with your app developers or an app development company.
The easiest way to share your app vision with others is by documenting it as user stories.
A user story is an informal explanation of a mobile app feature, written from an end-user perspective.
In Agile, user stories are also the smallest unit of work, an app developer uses time estimates for feature development and puts down accurate project timelines.
Writing user stories is easy too. Use this formula:
“As a [persona], I [want to], [so that].”
A user story for mobile banking app can be this:
“As a registered user, I want to add my virtual card to my online wallet so that I can use my account even before the physical card arrives”
Unlike regular tasks such as “add online wallet integration,” user stories provide app developers with more context around users’ needs and feature purposes. Plus, they are easier to write for non-technical people.
4. Create a Formal List of Requirements
Requirements gathering is the process of documenting main mobile app functions and performance characteristics under specific conditions.
Four types of requirements for mobile apps.
Business requirements: the goals and outcomes you want to achieve pegged to success measures.
Technical requirements: software engineering characteristics an app must fulfill, such as availability, reliability, and performance.
Functional requirements: descriptions of what an app should or shouldn’t do in response to different user actions.
Non-functional requirements: descriptions of specific system attributes around security, scalability, maintainability, etc.
You need a list of requirements to create detailed project plans and a product development roadmap. If you struggle with requirement gathering, contact app development consultants to do a discovery process with you.
Discovery is an ideation phase in software development, where you perform structured business analysis to refine your product vision; do product scoping, and feature prioritization.
A formal list of requirements also includes an overview of your tech stack — a list of technology services you plan to use for your application.
A mobile app tech stack includes:
Selected programming language
App development tools
Libraries and frameworks
APIs and integrations
Testing tools
UX/UI patterns
You can discover which technologies other mobile apps use via StackShare.
Then use NPM trends to compare the popularity of different mobile app development tools, frameworks, and languages.
To help you out, we’ve made our list of recommended tech tools for Android and iOS apps.
How to Create an App for iOS: Recommended Tech Stack
Native app development tools: Xcode + Swift
UX/UI libraries and tools: Human Interface Guidelines, iOS Design Kit
Third-party libraries: CocoaPods, Carthage, Swift Package Manager
CI/CD tools: Jenkins, TeamCity, Bitrise, CircleCI
QA: Appium, UI, and Unit tests
How to Create an App for Android: Recommended Tech Stack
Native app development tools: Android Studio + Kotlin/Java
UX/UI libraries and tools: Material Design
CI/CD tools: Jenkins, TeamCity, Bitrise, CircleCI
QA tools: Appium, Espresso, UI, and Unit tests
How to Create a Hybrid app: Recommended Tech Stack
Development tools: Flutter + Go
UX/UI libraries and tools: Material Design, Human Interface Guidelines, iOS Design Kit
CI/CD tools: Jenkins, TeamCity, Bitrise, CircleCI
QA tools: Appium, Espresso, UI, and Unit tests
5. Design Mobile App Wireframes and Prototype
You’ve created written app descriptions. Now it’s time to visualize them as wireframes.
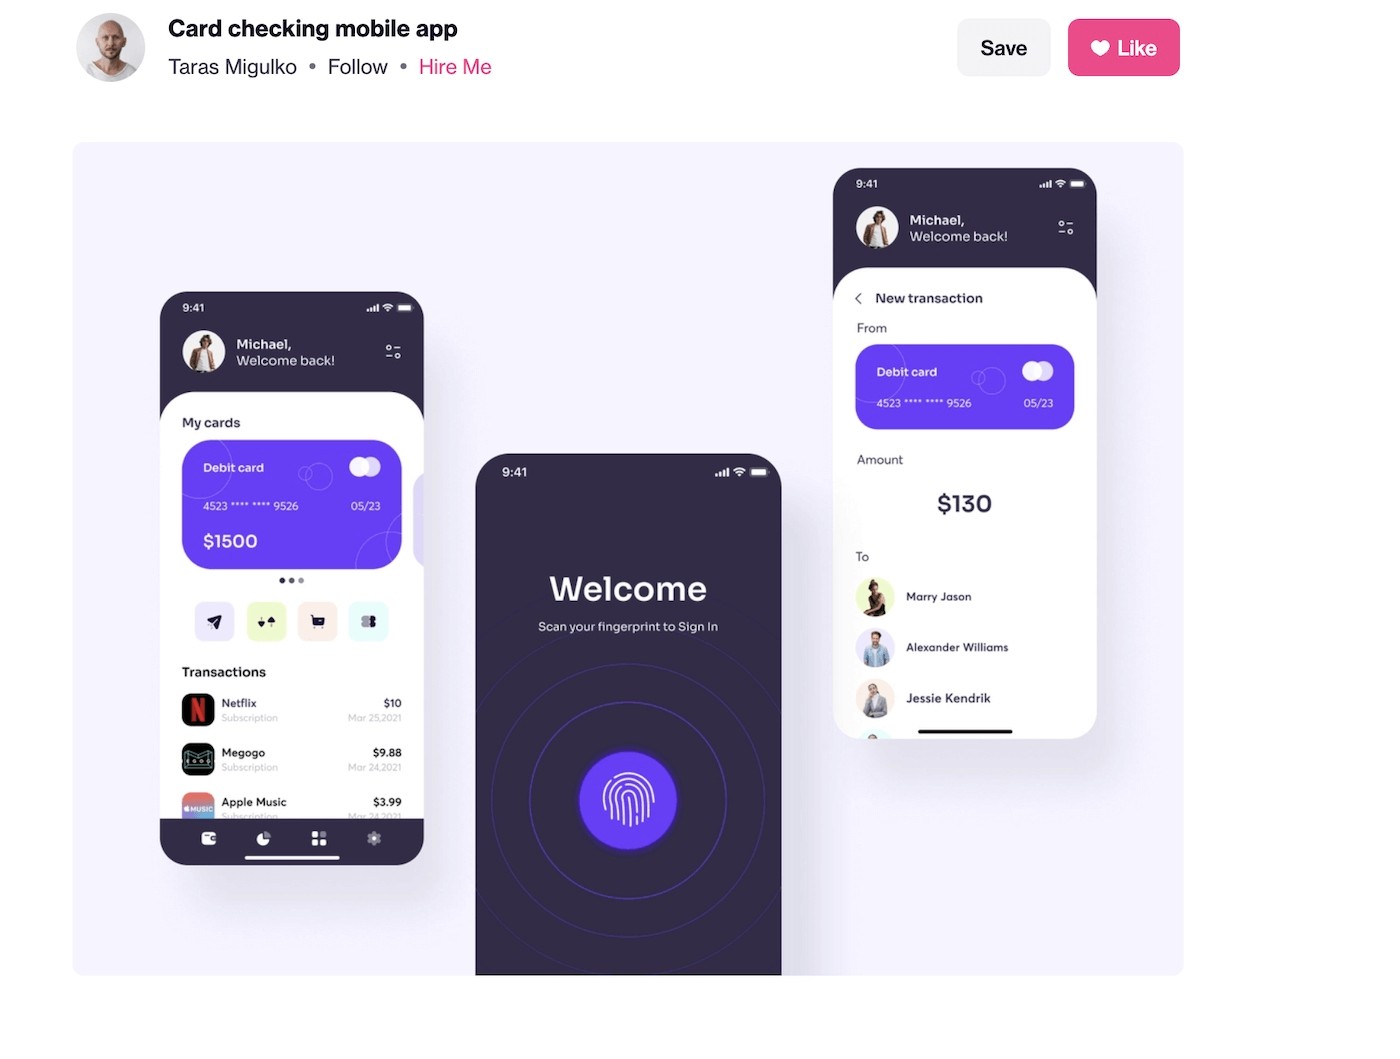
A mobile app wireframe is a 2D schematic sketch of your app.
It shows the main screens and interface elements and suggests how users will move through your product.
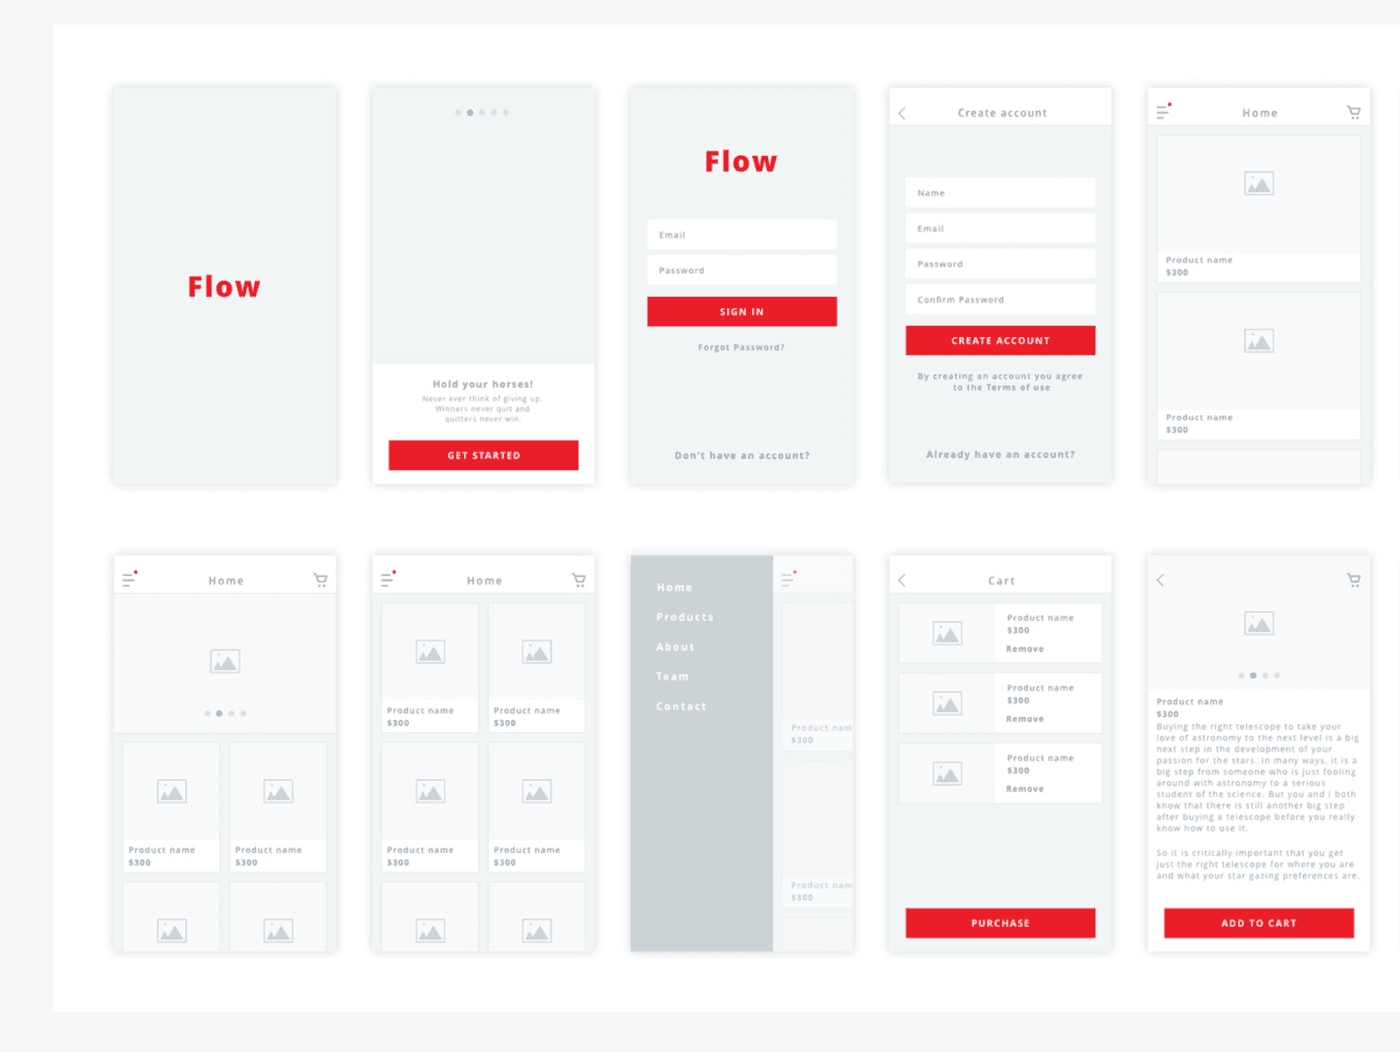
Sample iOS mobile app wireframe. Source: Sketch App Sources.
Wireframes are cheap and easy to make. Many no-code app builders offer pre-made templates, or you can find customizable kits online.
Three types of wireframes.
Low-fidelity wireframes are grayscale schematic blueprints without granularity.
Mid-fidelity wireframes are blueprints with additional notes and main interface elements (but without graphic elements).
High-fidelity wireframes come closest to the actual app design. They have most UX/UI elements, branding, typography, and other design aesthetics elements.
Low-fi wireframes are a must pre-development.
By creating visual interface layouts, you can:
Validate your initial product assumptions
Identify crucial gaps in user flow(s)
Communicate your vision to app developers
Prevent costly code/design refactoring at later stages
Next, create UI mockups. A static mobile app mockup better conveys the feel and aesthetics of your app by featuring primary colors, icons, fonts, and other elements.
Sample Android app UI mockup Source: Dribbble.
For more complex products, we also recommend making an interactive app prototype.
An interactive prototype is an animated hi-fi wireframe or UI mockup showcasing main in-app interactions.
In the words of Paul Graham:
No idea for a product could ever be so clever as the ones you can discover by smashing a beam of prototypes into a beam of users.
Prototypes mimic the app’s behavior in real-life settings and help visualize responses to common user gestures. Interactive prototypes are essential in usability testing.
Plus, you can always pilot a prototype for beta users or share it with investors during fundraising.
6. Create a Development Timeline
While your app design team is elbow deep in prototyping, set the stage for app development.
Based on your list of requirements and user stories, create:
List of app features based on stories
Prioritized feature backlog
Main deadlines and milestones
Place all of the above on an app development timeline. Popular project management apps like Jira, Trello, or Asana let you create visual Gantt charts.
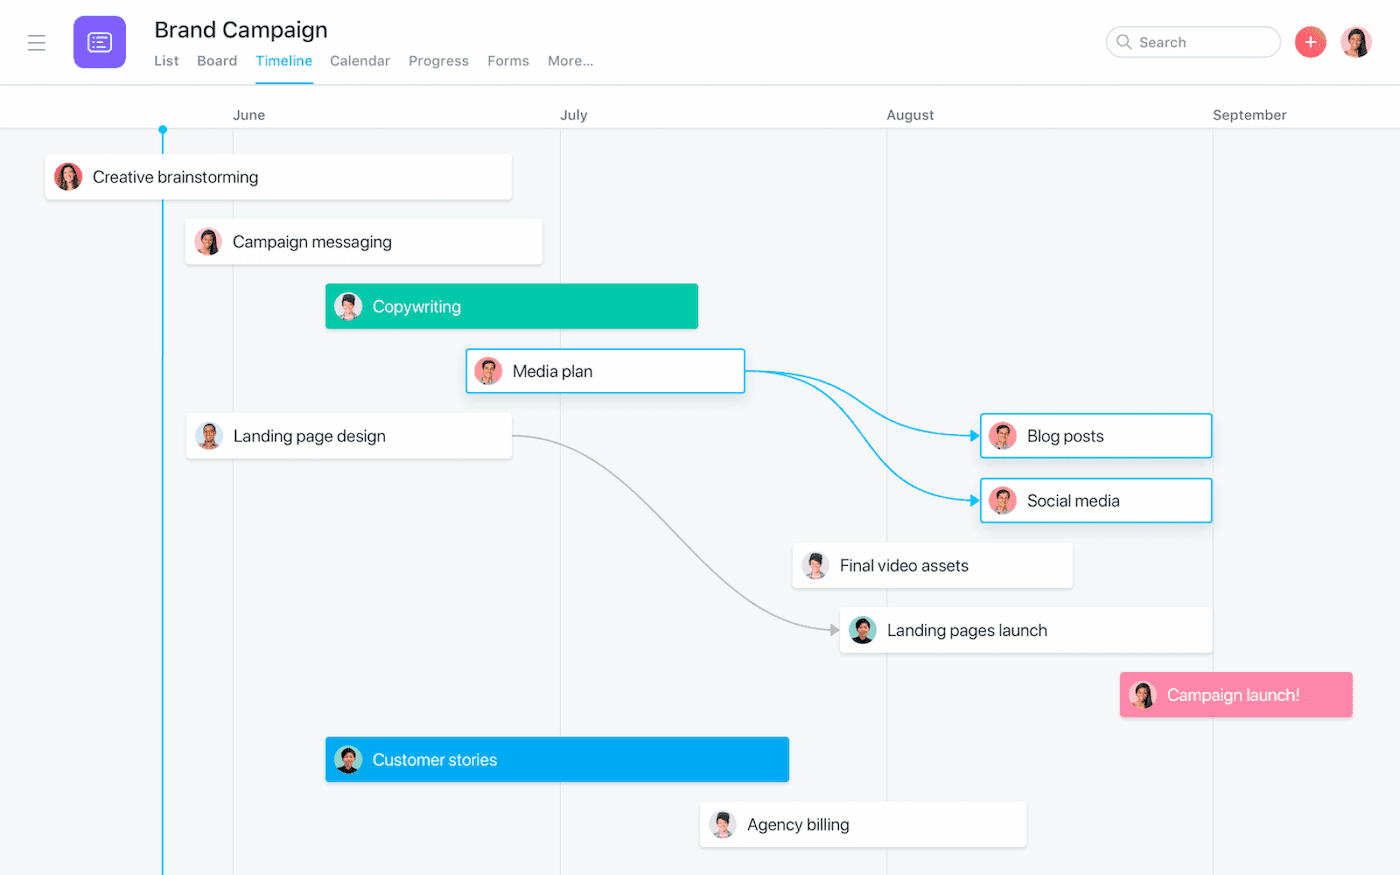
Source: Asana.
To determine the optimal cadence, assign different priority levels to app features and map dependencies between them.
You should then add the top-priority items to your first Sprint, a time-bound period in which your app development team works on defined tasks.
New to product management? Atlassian has a great library of Agile project management resources to check out.
Also, remind your app development team to set up app development infrastructure. That includes:
Integrated development environments
Third-party libraries and tooling
Cloud storage services and VMs
CI/CD pipelines
CI/CD stands for continuous integration and continuous development. It’s a framework for introducing automation at different stages of mobile app development.
Teams using CI/CD can save up to 20% of the time on app development steps.
Our preferred CI/CD tool for mobile development is Bitrise.
7. Conduct Quality Assurance (QA)
Quality assurance (or app testing) goes hand in hand with development (not separately).
You should test the app for bugs at different stages during the development process.
Remember: subpar code creates mounting technical debt, which gets more expensive to fit at later stages of app development.
One bank had to spend over $1 million per month on automated re-testing after reworking a significant amount of earlier code.
Even in small projects, the cost of reworks can be crippling. Regular QA trains your development team to locate coding mishaps early on and resolve them fast.
Also, continuous testing (CT), regularly done during the active development phase, helps you implement all the non-functional app requirements by design (rather than slap them somewhere on top later on).
The good news is that you can automate a lot of QA activities in mobile app development, such as
Functional tests
Speed tests
Memory leak tests
Security tests
Integrations / API testing
Automated QA means continuous usage of testing tools and pre-made test scripts to validate the app against set requirements for code quality and business logic.
Advantages of automated QA:
Fast feedback loop on new code
Higher test accuracy and testing speed
Better test coverage against set requirements
More cost-effective than manual testing
That said: manual testing also has its merit in mobile app development.
In particular, when it comes to UX and app usability tests. No software can tell you if your app is convenient, intuitive, and helpful. That’s where you need a human pair of eyes.
8. Prepare a Beta Release
You’ve powered through your backlog and are ready to release an early app version to the world.
A pre-release of a mobile app to a group of early users is called a beta release. The goal of the beta version: understand how the app performs in real-life conditions and what users make of it.
Every company, from Google to Microsoft, does private beta releases of major products.
Why? Because betas help locate extra bugs and app design mishaps before your app hits the virtual App Store shelves.
Here’s how to prepare for your mobile app beta release.
Define your goals.
What type of information do you want to collect?
Do you want to monitor user behaviors and collect feedback on features?
Or would you like testers to do some bug hunting for you?
Set a beta testing timeline. It should be time-bound. Don’t make beta a cop-out to delay the actual product launch.
Publish a call for beta testers. You can make a public announcement on your website as HubSpot did, publish a call on social media, or recruit professional beta testers in online communities like Betabound or uTest.
To attract more beta testers (and create some buzz pre-launch), set up a bounty (reward) program.
A bounty program offers cash or another type of incentive to testers who find crucial bugs or vulnerabilities in your mobile app.
Snapchat, for example, runs an ongoing bounty program and rewards users for reporting different security issues. Their minimum payout is $250. But evidence of critical vulnerabilities can earn savvy pen-testers up to $35,000.
While your beta testing is in progress, shift your focus to pre-launch app marketing strategies.
Create a draft version of your go-to-market strategy and start creating the necessary assets:
Promo website and landing page
Social media marketing strategy
Paid media strategy
ProductHunt launch campaign
Outreach campaign to journalists and influencers
When working on your app launch strategy, try to estimate a reasonable user acquisition cost (UAC) threshold.
Here are benchmarks for average mobile app user acquisition costs around the world:
Average cost to install:
$5.28 in North America
$1.03 in EMEA
$0.93 in APAC
Average cost of in-app purchase:
$74.68 in North America
$41.15 in EMEA
$33.05 in APAC
Average cost of subscribing:
$69.44 in EMEA
$64.27 in North America
$21.87 in APAC
Don’t get too caught in driving only app installs.
On average, Android apps lose 77% of daily active users within the first 3 days after the install and up to 90% within 90 days. Extend your campaigns to include user activation and engagement.
You’ll need sufficient mobile users' data to get this element right.
9. Install and Configure In-App Analytics
Install mobile app analytics tools before the beta release.
This way, you can start collecting essential mobile marketing metrics from day one. Then use them to improve your app design, usability, retention, and engagement mechanisms.
Essential mobile analytics metrics to track:
Daily active users (DAU) and monthly active users (MAU)
User retention rate
Churn rate (or app abandonment rates)
Average revenue per user (ARPU)
Cost per acquisition (CPA)
Behavior flow rate
App load time
Return on investment (ROI)
Various app analytics tools help you better understand how users interact with your product: where they tap, which screens they view the most, and what features they love (or find confusing).
User behavior analytics tools such as heat maps or screen flow analytics also help you notice problematic areas. For example, complex forms, subpar registration flow, or inconvenient checkout.
Fixing such UX leaks can reduce app churn rates and boost ARPU.
Recommended mobile app analytics tools:
Apple App Analytics — native product analytics for iOS apps
Firebase — native product analytics for Android Apps
Adjust — mobile measurement platform
UXCam — feature-rich user behavior analytics platform
Mixpanel — advanced product analytics for mobile apps
AppsFlyer — MarTech platform for mobile products
Pro tip from the Devsolutely team: Mind GDPR regulations in Europe. GDPR requires mobile app owners to get users’ consent for data collection. You must show a valid consent form.
For example, if you allow login via Facebook and use Facebook SDK, you must show a GDPR consent screen. Design an attractive, non-intrusive banner to ensure great UX.
10. Prepare for Alpha Launch
Your beta testers brought back some nice findings, and the app development team made the polishing touches. It’s time to launch officially.
To launch a mobile app with a big bang, do the following.
Create assets for the iOS app store listing or Google Play Store. These should include a logo, attractive app design screens, catchy app promo copy, privacy policy, and end-user license agreement. Mind the app listing approval timelines:
Average App Store new app review timeline: 90% of apps are reviewed in 48 hours.
Average Google Play new app review timeline: 3 days on average, but can be extended to 7 days in some cases.
Make an app store optimization (ASO) plan. When listing your app, stick to essential app store optimization best practices:
Add a target keyword to your app title and use it in the app description texts (along with other semantically relevant keywords).
Include a catchy app subtitle (for Apple App Store listings) to encourage more clicks to your listing.
Customize your app listing URL to include the main keyword.
Ask beta testers to download your app from the app store to rate your app and leave a review.
Then focus on maximizing the number of downloads because this is the decisive ranking factor for both Google Play and the Apple app stores.
Announce your launch on Product Hunt. Product Hunt is a popular community for showcasing new products. Popular mobile apps such as Robinhood, Digit, and Periscope got early traction thanks to massive support from the PH community.
The challenge, however, is that you shouldn’t submit your mobile app. Instead, you should engage another user to “hunt” your product. Likewise, Product Hunt doesn’t allow asking or incentivizing people to upvote your submission. So you need to be creative.
Set up a referral campaign. Referrals are another high-impact app marketing strategy. It works best for freemium and paid apps, also those offering in-app purchases. The concept: turn early users into product advocates by offering them an incentive.
It can be a:
Discount
Cash tip
Account upgrade
Bonus features
Or some other type of a sweet special reward. Take it from Monzo — a mobile-only bank. Pre-launch, Monzo teased a Golden Ticket program. Early-bird and beta users could send their friends a skip-the-waitlist” invite and unlock the peer-to-peer payments feature (+ a referral payout).
Thanks to this program, Monzo got a 5% week-over-week boost in user growth during the launch month. They also acquired new users for under £20, which is 10X lower than the average industry UAC of £240.
11. Hype Up Your App Post-Launch
Initial traction? Checked!
But don’t call it a done deal just yet. Your app development journey is done, but your app marketing journey has just started.
To run a successful app, you must double down on marketing activities post-launch.
Here are some ideas.
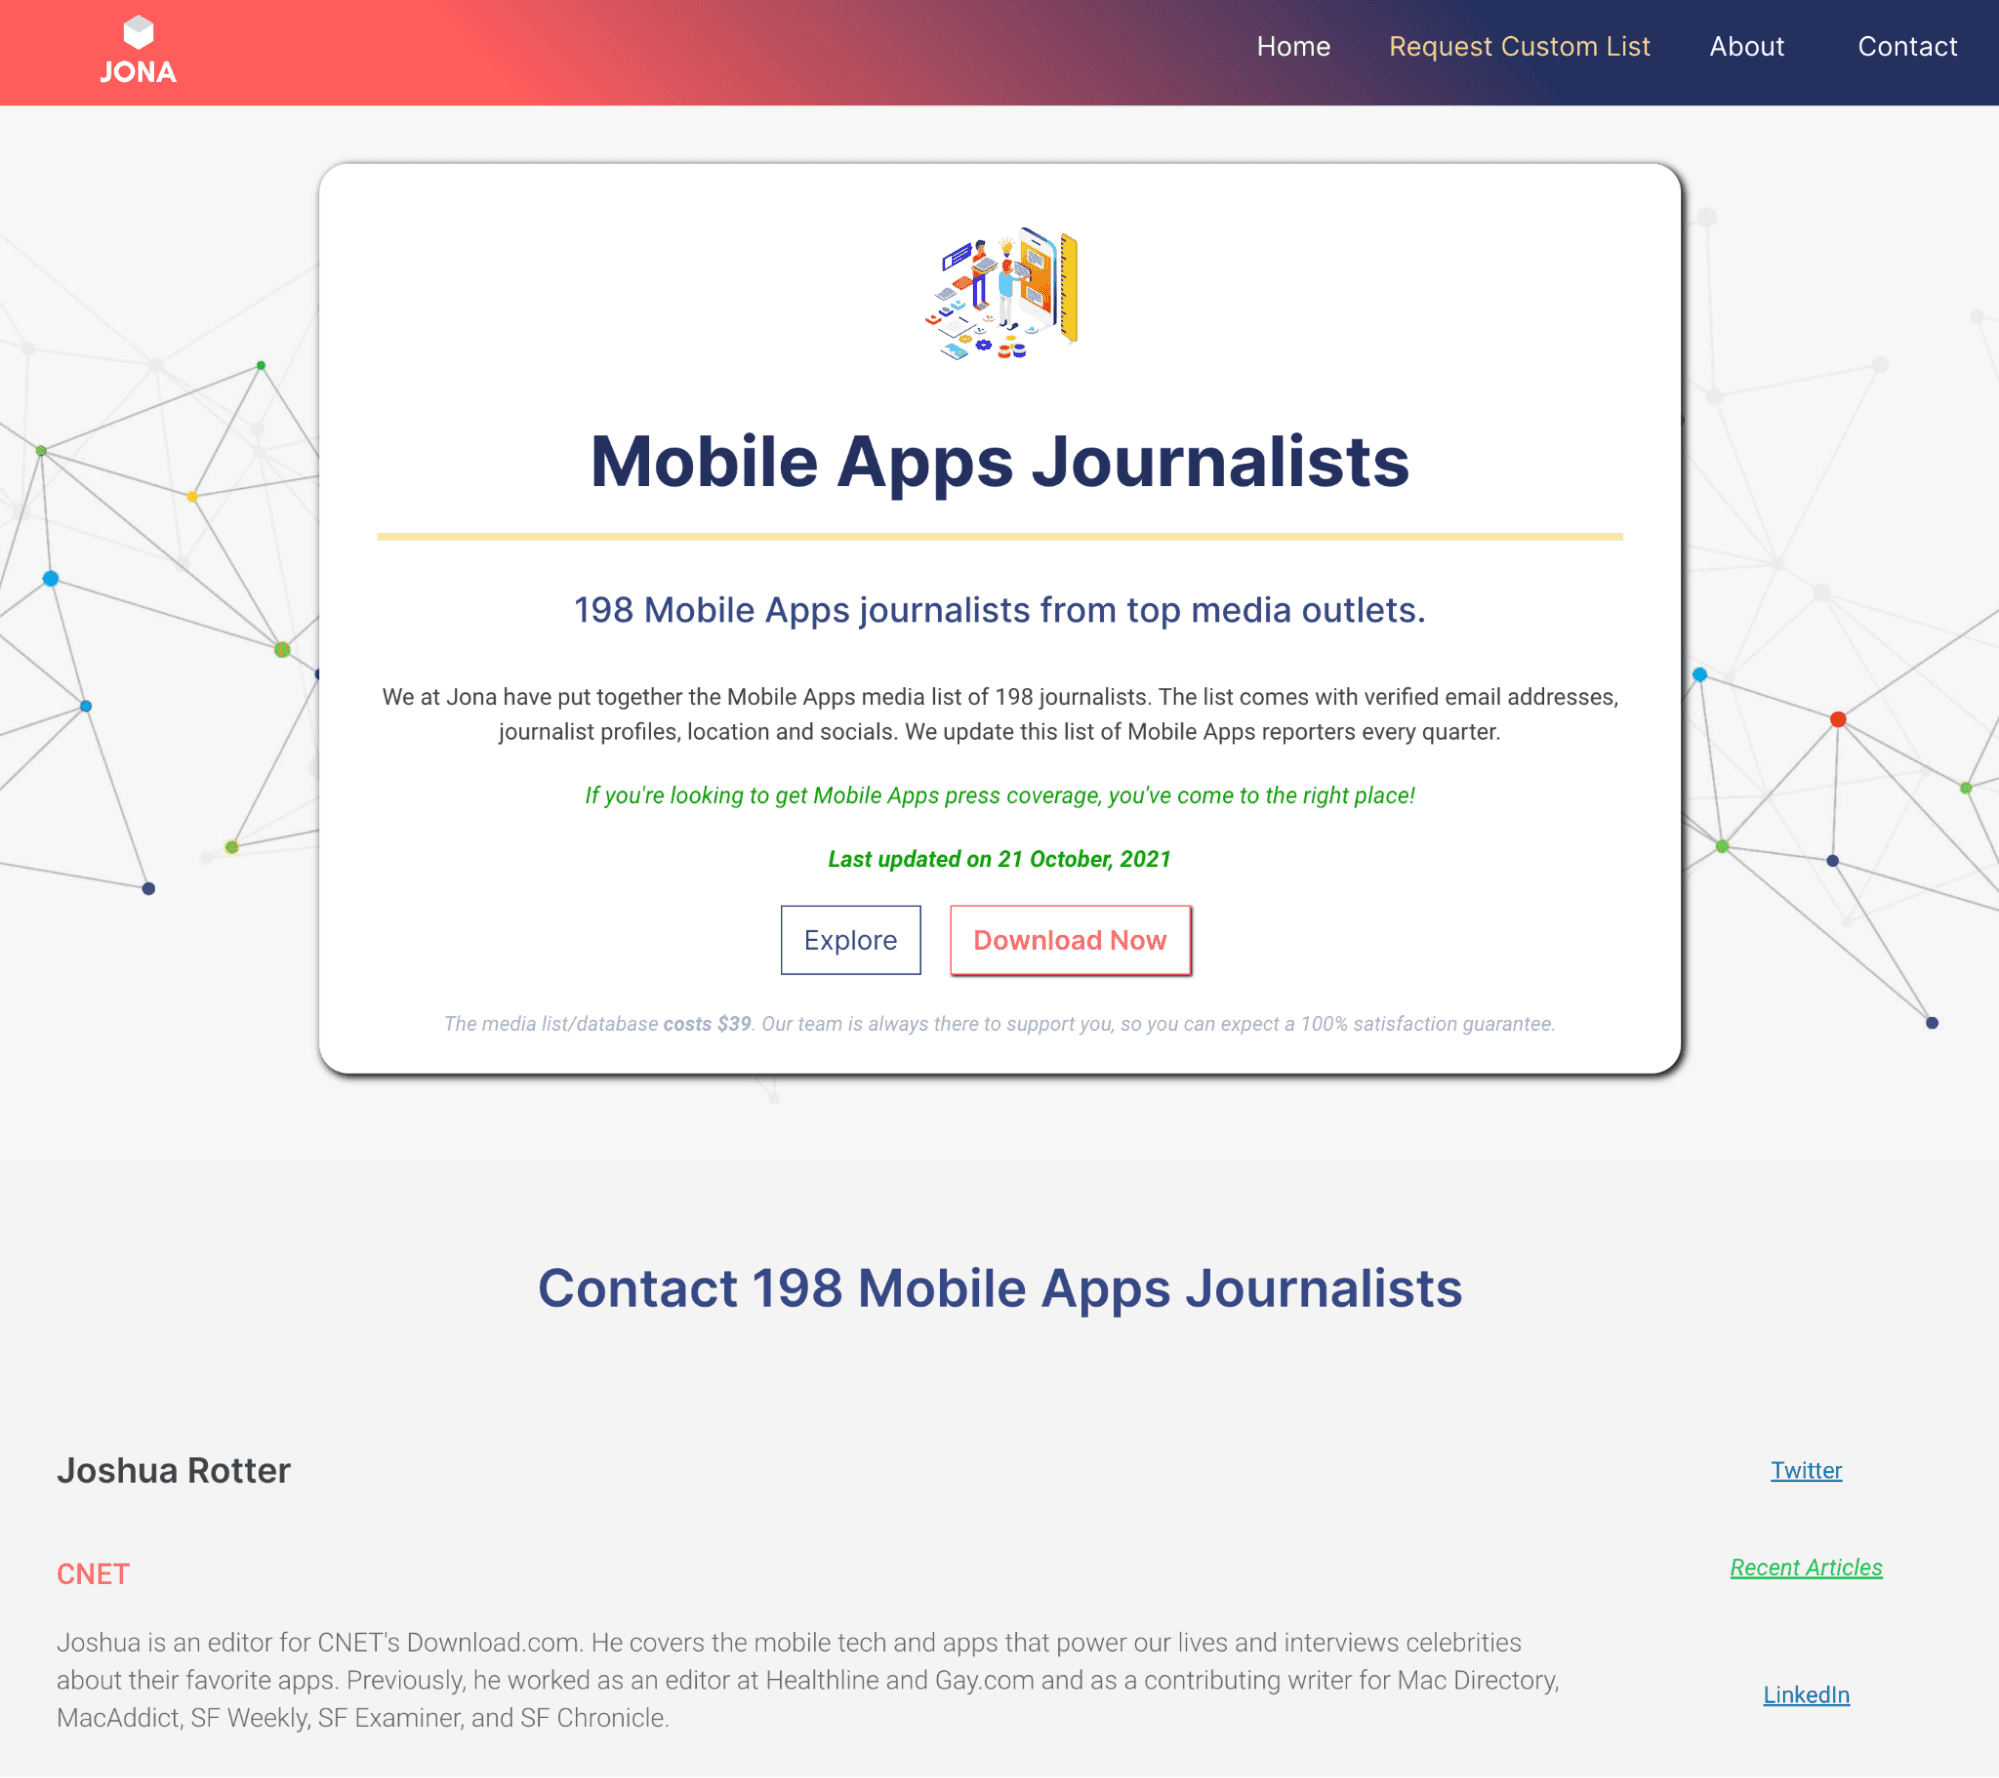
Mobile apps journalists. Source: Jona.
Schedule an outreach campaign. Jona has a list of journalist contacts covering the app industry. Approach them with a personalized letter, a media kit, and several story angles. Don’t just ask for a review. Pitch them a story idea!
Schedule paid ad campaigns. Facebook, Instagram, and Twitter have ad creative formats for promoting mobile app downloads. Spread your budgets across all of them and run test app promo campaigns.
Analyze results. Then reallocate more funds towards a better performing platform and audience(s). Glovo food delivery app got a 73% lift in incremental app installs from a Facebook ads campaign and a $48,000 lift in incremental sales.
Sponsor influencers and creators. No, not the Instagram crowd, but smaller creators who run blogs, podcasts, and newsletters relevant to your niche. Such creators have more engaged niche audiences, more likely to engage with their recommendations.
Keep a close eye on performance analytics as your app user base grows. Bugs and lags may also appear at this stage.
You risk alienating early users and earning a bad rep. Keep your app development team on standby.
12. Collect User Feedback and Plan New Features
To promote app usage and increase engagement, create a process for collecting user feedback.
Analytics tools can tell you a data-based story, but it also helps to get first-hand input.
Run regular user surveys to collect:
CSAT and NPS scores
Feedback on popular app features
Negative experience (before they become reviews on app stores)
App ideas for new features
When it comes to the latter, creating a public product roadmap could help.
A public roadmap helps curate all submitted app ideas and progressively incorporate them in the subsequent app development process.
Also, as Mathilde Collin, CEO of Front, well-noted:
A primary reason to make your roadmap public is to increase transparency with customers. Not only can customers see exactly what you’re working on, but they also know that their feedback has been heard, valued, and implemented where possible.
This way, users feel more vested in your app’s success, and you can prioritize new app features for development based on first-hand data (rather than your assumptions!).
Final Thoughts
The demand for mobile apps is growing yearly
In 2021, mobile commerce sales hit $359.32 billion, up by 15.2% compared to the previous year. By 2025, the sales via ecommerce apps are set to double and account for 44.2% of all retail ecommerce sales in the US alone.
In the finance space, the mobile banking market keeps growing at a CAGR of 11.9% year on year until it hits $1.3 billion in 2028.
What does this data mean for you?
The timing for creating mobile apps can’t be better, and our app development company is here to help you bring a pixel-perfect project to the market!
FAQs about how to create an app
Here are some of the most common questions first-time app creators have.
How do I create my own app?
To create an app, you can use a simple no-code development platform such as Bubble or Bravo if you don’t know any programming languages. It’s a good route for mobile app MVPs and prototypes.
To create full-featured mobile apps, you’ll need to learn how to use an advanced app development platform like AppyPie or Zoho Creator, or hire a mobile app development company to help you out.
How much does it cost to build an app?
App development costs vary a lot, depending on the feature set. You can build a simple music app MVP for under $15,000 or spend $150,000 for an MVP banking app.
To create a baseline app development budget, estimate the expected volume of work based on user stories. Then multiply the number by the average app developer's hourly rate, which is $60/hour. Add another 20%-40% of the total sum for app testing and design, and you’ll get a rough estimate.
Can I create an app for free?
Yes. You can create free apps with basic functionality using an app builder. But these would be interactive prototypes rather than market-ready products.
Simple Android apps can be built for free using open-source tools only. But you still will need to pay for app hosting and analytics.
Can I build an app myself?
Yes. You can create apps yourself if you know a programming language and some UX/UI design best practices. Many make simple mobile apps using an app builder and pre-made design elements.
But not all app ideas can be developed by one person.